I apologise for the lack of photos as i really didn't think the shirt would turn out, since this was my first attempt.
First of all find a nice material you would like to use. I purchased three different patterns, but chose to go with the green floral pattern simply because it's cotton and the easiest to sew.
For the back of the shirt i got one of my other button up shirts that fitted me well, turned it inside out and traced around it, adding 2cm all around for the seam. i also added a bit of a dip at the back.
For the front i folded the back in half (that i had just cut out), traced around that twice for the two parts and added 4cm to the middle seam, enough so the middle seams would fold over each other. This is where the buttons will be added.
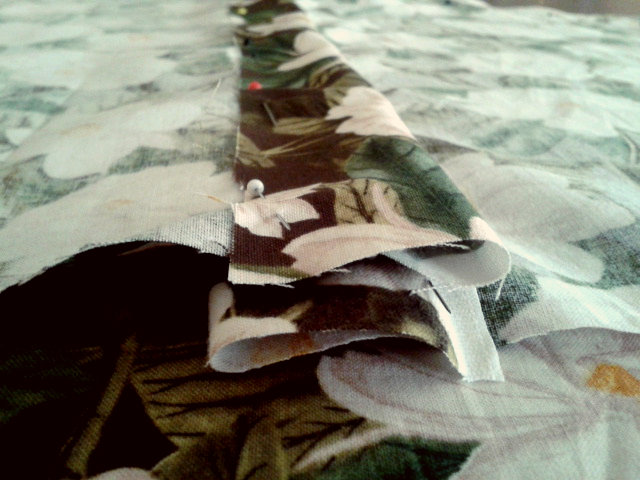
Pin all the seams down and try it on to see if it fits and if you need to make it smaller, being careful you don't stab yourself with the pins.
Make sure you don't pin down the arm holes
Seams
the middle seams where the buttons will be added, just to show how they fold over each other.
This is the point where i lack photos. But i'll just explain the next few steps.
So after pinning all the seams down i sewed them all up, leaving the collar without a seam, as i will be adding a collar to it later.
So after pinning all the seams down i sewed them all up, leaving the collar without a seam, as i will be adding a collar to it later.
I used a stretch stitch on all the seams as it's a much tougher stitch to the straight stitch.
Buttons
I measured out how many buttons i'll need to add and spaced them out evenly, i had them 3 inches apart.
This is the tricky bit, sewing the button holes. this was my first time sewing buttons holes and i found it difficult matching up the button holes to the buttons, so i suggest you sew the button holes on first, and then add the buttons.
The collar
I measured out the length around the neck hole and then using a detachable collar i already had i traced an outline from that, adding on some length to match up to the neck hole. Cut out two of these shapes and pin together, make sure the material is the wrong way around, so the pattern is on the inside. Sew the collar bits together, leaving a 2cm gap in the middle at the top of the collar.
The turn inside out, close the gap by hand stitching.
The turn inside out, close the gap by hand stitching.
Adding the collar to the neck
make sure the collar fits around the neck hole then pin the collar so the top of the collar is about 1cm inside the neck hole (Shown above). Sew together.
Above is showing what the outside of the shirt looks like with the collar attached.
Then you just turn down the collar, and iron it down so the fold will stay.
Finished
So i went to spotlight last week and purchased these three lovely patterned materials. I knew i wanted to make my own button up shirts but i didn't exactly know how, so this was my first ever attempt at making one. I didn't have a pattern either so it was all by trial and error, but it actually turned out better than expected.
i didn't take as many photos as i thought because i didn't actually think it would turn out at all, but next time i will for sure :)


No comments:
Post a Comment